

This content was written prior to a change in Redis’ naming convention – Redis Enterprise is now the moniker for all our products.
Today, Redis applications can take advantage of a few types of replication –
In the upcoming version of Redis Enterprise 5.0, we are delivering a new flexible, multi master replication technology built for WAN. The new capability allows active-active geo-distributed Redis deployments using the magic of CRDTs (conflict free replicated data types). CRDTs simplify development of active-active systems and automatically resolve conflicting writes. Combined with Redis datatypes, CRDTs provide a mechanism that can easily help you develop active-active geo-distributed systems that can intelligently handle conflicting writes.
If you’d like to know more about Redis CRDTs and visit “Bending CAP Theorem in Geo-Distributed Deployments With CRDTs“
We’ll focus on experimenting with CRDTs in this walkthrough but if you want to dig deeper into CRDTs start with this article by Eric Brewer: 12 years after the original CAP theorem, Eric Brewer explains how CRDTs changes the CAP balance in this great article. To get hands on with CRDTs and try them out, you can sign up for the preview program for Redis Enterprise 5.0. Find the instructions here.
We’ll setup a scale-minimized geo-distributed deployment and demonstrate how active-active access works under Redis Enterprise. Here are the four steps:
Run 2 containers. We’ll use each one to simulate a Redis Enterprise cluster.
Note: Before you run the containers, go to docker settings and adjust your RAM per container to 6GB. Under some operating systems, you may not be able to start the Redis Enterprise Pack containers unless the RAM per container is adjusted.
docker run -d --cap-add sys_resource -h rp1 --name rp1 -p 8443:8443 -p 8080:8080 -p 12000:12000 redis/redis
docker run -d --cap-add sys_resource -h rp2 --name rp2 -p 8444:8443 -p 8081:8080 -p 12001:12000 redis/redis
It is important to note the -p options: Each container maps its web UI port (8443), REST API port (8080), and database access port (12000) to a unique host port to ensure all containers can be accessed from the host OS that’s running the containers. This will help you connect to each cluster from host as well as from the containers themselves.
Lets setup both clusters.
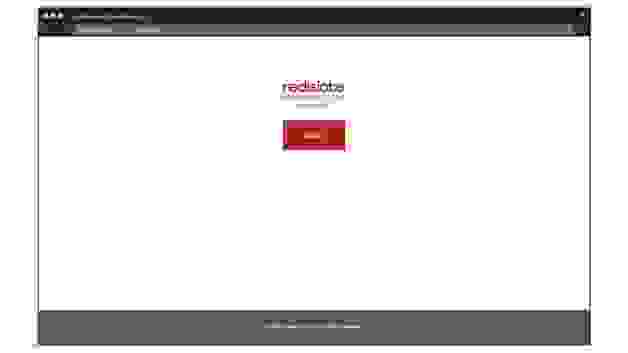
For cluster 1, direct your browser to https://localhost:8443 on the host machine to see the Redise Pack admin console. Simply click the Setup button on the page to get started.
Note: Depending on your browser, you may see a certificate error. Simply choose continue to the website to get to the setup screen.
On the node configuration page, select your default settings and provide a cluster FQDN: cluster1.local. Then simply click the Next button.
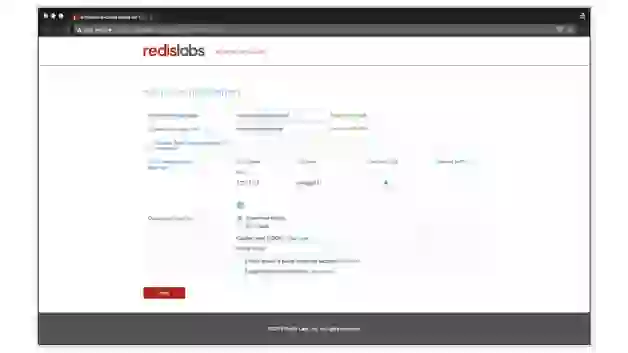
If you don’t have a license key, click the Next button to try the trial version of the product.
On the next screen, set up a Cluster Administrator account using an email for the login and a password.
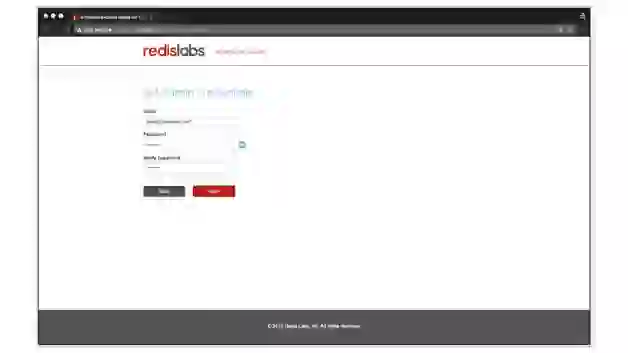
You are done on cluster1.local.
Repeat the same operations for cluster 2. First, direct the browser at https://localhost:8444. The steps are identical except in this pass, specify FQDN as cluster2.local.
Once done, We have two Redise Pack clusters with FQDNs cluster1.local and cluster2.local.
We’ll create the database using the REST API. The following will create a Redis database of type CRDB (conflict free replicated database). There are a few things special about CRDBs:
The REST API call below creates a CRDB Instance on cluster1.local and a CRDB Instance on cluster2.local. On each cluster, the CRDB Instances has an endpoint of port 12000 and both databases are named “sample-crdb”.
Before you issue the call below, place the <admin-email> and <admin-password> you specified during setup above.
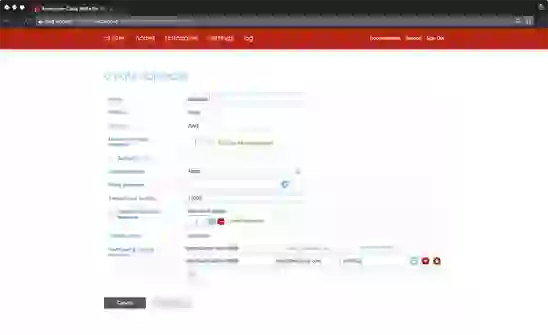
Under the databases tab, choose the Redis database with deployment type set to Geo-Distributed.
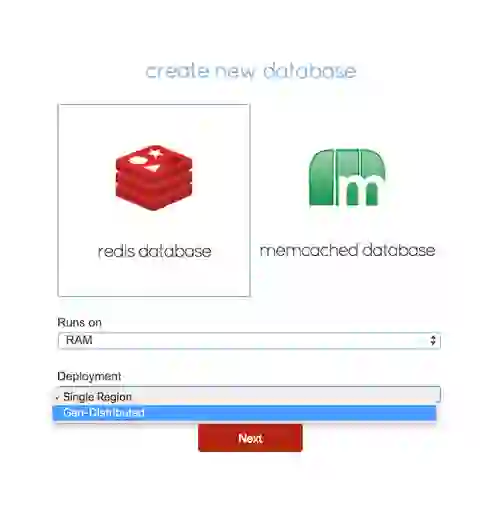
On the create database page, click the show advanced option link and enter database1 for the database name and 12000 for the endpoint port number. Make sure to add both http://cluster1.local:8080 and http://cluster2.local:8080 to the participating cluster list.
Once you activate the database, you will have CRDB instances on each participating cluster that you can connect to.
With the Redis database (CRDB) created, you are ready to connect to your database. You can use one of the following ways to test connectivity to your database
Remember we have two CRDB Intances that are available for connections and concurrent reads and writes. The CRDB Instances are using bi-directional replication to for the global CRDB.
Connecting Using redis-cli
redis-cli is a simple command-line tool to interact with redis database. In this instance we’ll use redis-cli under each container using “docker exec”. Use “docker exec” to switch your context into the Redise Pack container of node in cluster1.local under the container named rp1
docker exec -it rp1 bash
Run redis-cli, located in “/opt/redis/bin” directory, to connect to port 12000 and store and retrieve a key1 in the database.
/opt/redis/bin/redis-cli -p 12000
127.0.0.1:12000> set key1 123
OK
127.0.0.1:12000> get key1
"123"
Lets see the write to key1 replicated to cluster 2. On a different terminal window, use “docker exec” to switch your context into the Redise Pack container of node in cluster 2.
docker exec -it rp2 bash
/opt/redis/bin/redis-cli -p 12000
127.0.0.1:12000> get key1
"123"
You now have a working CRDB deployment. Lets see how CRDBs simplify development when you have concurrent distributed writes to data.
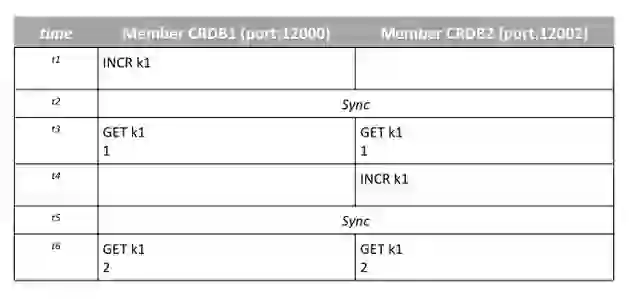
Here is a simple test. Lets see how INCR on k1 across 2 CRDB Instances on cluster1 and cluster2 sync to ensure an accurate final value. t1 to t5 represents the order of events. operations under cluster1.local is performed on rp1 container and operations under cluster2.local are performed on rp2 container.
Simulating network failures: Sync between the clusters happen fast. For some of the advanced testing, you will also find simulating network failures between cluster1 and cluster2 so you can observe how CRDTs in each data type work.
It is easy to do simulate network partitioning in docker. To create a network partition find the IP address on cluster1. I get 10.0.0.2
docker exec -it rp1 ifconfig | grep 0.0.0.0 | cut -d":" -f 2 | cut -d" " -f 1
10.0.0.2
To break networking between the 2 clusters cluster1.local and cluster2.local, run the following on cluster2.local (rp2 container).
docker exec --privileged rp2 iptables -A INPUT --source 10.0.0.2 -j DROP
docker exec --privileged rp2 iptables -A OUTPUT --dst 10.0.0.2 -j DROP
At this point cluster1 and cluster2 cannot communicate with active-active replication. At some point you will want to restore the network back. Once you restore network communication between clusters, CRDBs will automatically start syncing again. Here is how you do it;
docker exec --privileged rp2 iptables -F
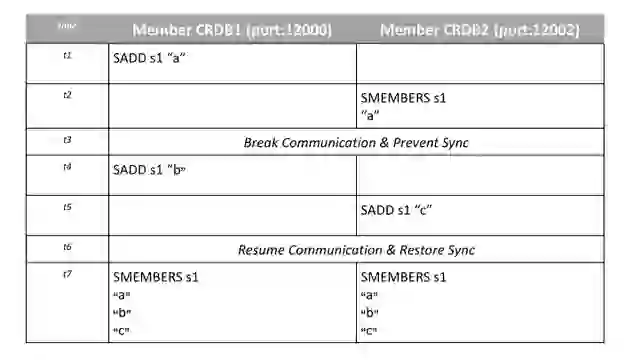
Here is another one to try. This time we will simulate a network failure in between operations to observe the issues. In this case, we’ll see how a Redis SET works with CRDTs. we’ll create the set and let it sync across clusters. We’ll break the network and privately add a new distinct member to the SET in each cluster. Once the communication is restored, you will see how CRDTs resolve the conflicting write and union both sets.
We just scratched the surface of the CRDTs in Redis. You can sign up for the private preview to get more details and documentation on the capabilities. Simply follow the instructions here.

